I found myself in need of quickly converting my C# console application into a web application, primarily, I was asked to expose our console app’s logic through an API with very little time to manage it.
This article will cover on how I eventually exposed our console app on port 5005 of the localhost, our internal network, for bonus, I’ll throw in the containerised Docker version of the app, too!
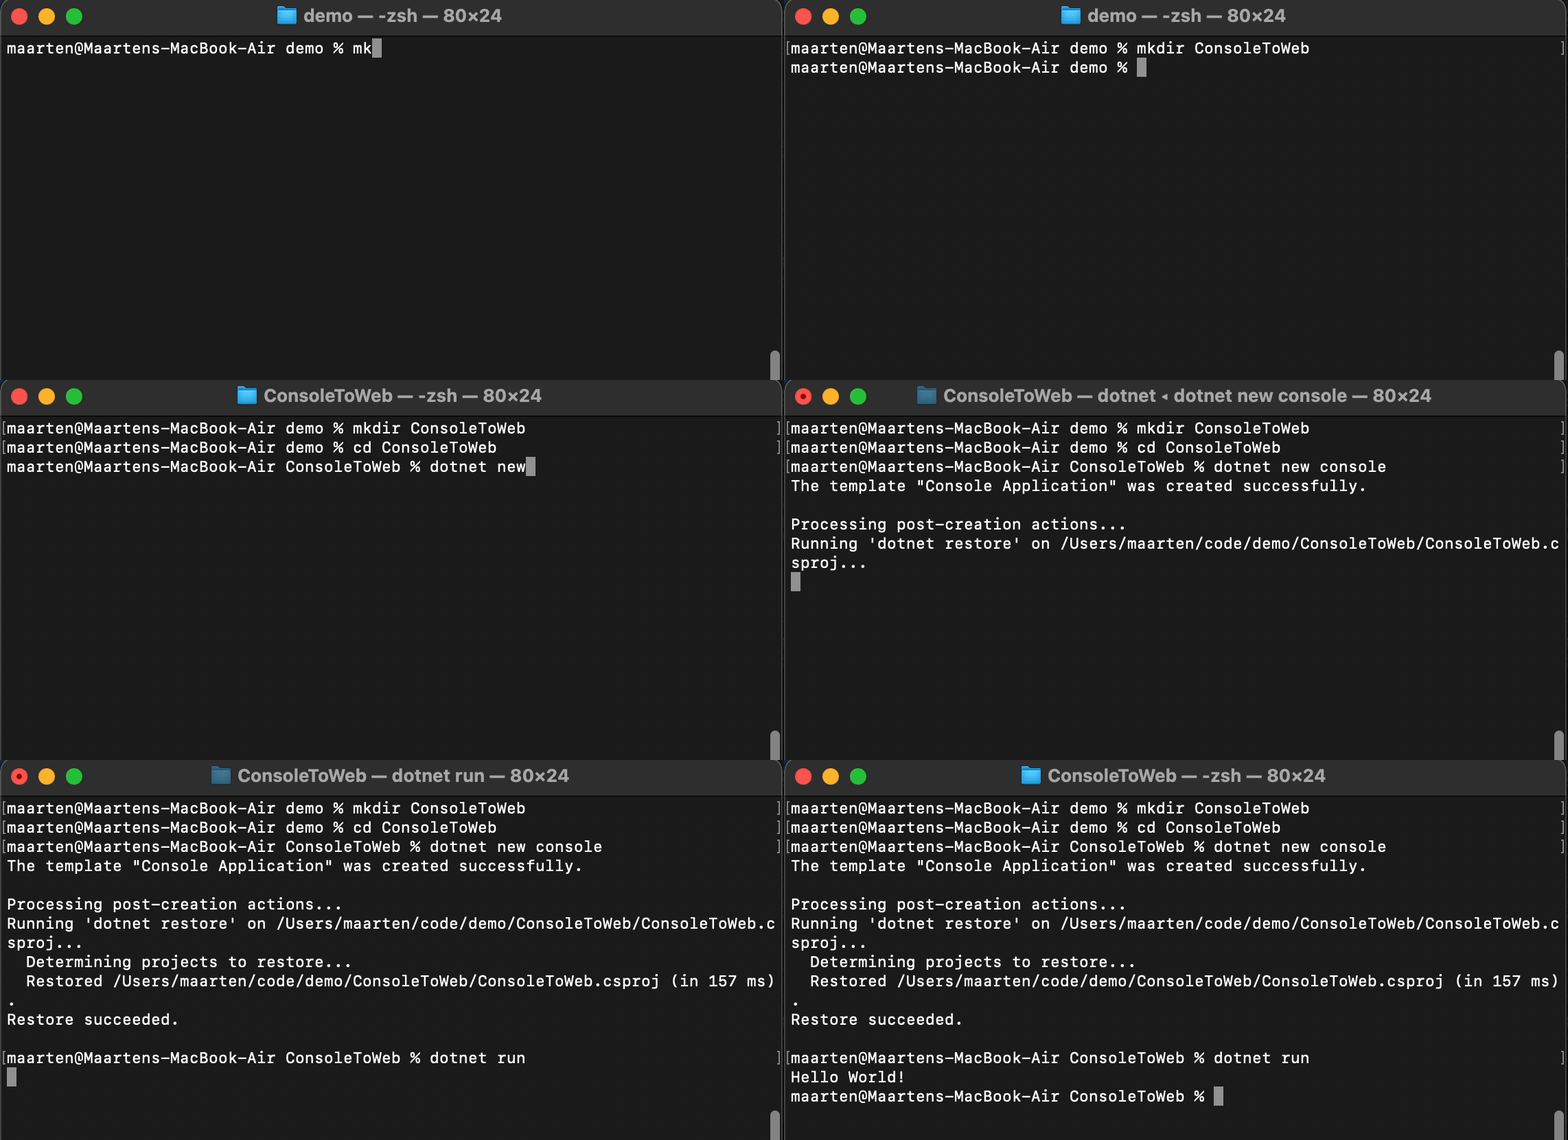
Let’s start with a simple console app:
mkdir ConsoleToWeb

cd ConsoleToWeb

dotnet new console

dotnet run

The source of this app will look something like this:
using System;


namespace ConsoleToWeb

{

    class Program

    {

        static void Main(string[] args)

        {

            Console.WriteLine("Hello World!"); // => This needs to be converted into a web app

        }

    }

}
To convert this into a ASP.NET Web App, we need to do 3 things:
- Convert the console project into a web project (csproj)
- Introduce a Generic Host to host our Web App
- Rewrite the Main method to run our WebHost
Converting a console csproj into a web csproj
Our original console csproj looks something like the following:
<Project Sdk="Microsoft.NET.Sdk">


  <PropertyGroup>

    <OutputType>Exe</OutputType>

    <TargetFramework>net5.0</TargetFramework>

  </PropertyGroup>


</Project>
For a web project, we need to target a different SDK; Microsoft.NET.Sdk.Web
Also, the OutputType does not need to be an Exe.
Modify the csproj file to look like this:
<Project Sdk="Microsoft.NET.Sdk.Web">


  <PropertyGroup>

    <TargetFramework>net5.0</TargetFramework>

  </PropertyGroup>


</Project>
Introduce a Generic Host to host our web app
The IHost class is a class designed for the new app hosting system of .NET. It handles core functionality like Dependency Injection, Configuration, Logging, …
We will use the HostBuilder to create a vanilla Web Host that will have 1 Run method which will call the code from our Console app.
Add the following code to your Program.cs file:
public static IHostBuilder CreateHostBuilder(string[] args) =>

  Host.CreateDefaultBuilder(args)

      .ConfigureWebHost(

          webHost => webHost

              .UseKestrel(kestrelOptions => { kestrelOptions.ListenAnyIP(5005); })

              .Configure(app => app

                  .Run(

                      async context =>

                      {

                          await context.Response.WriteAsync("Hello World!");

                      }

                  )));
Don’t forget about the necessary using statements:
using Microsoft.Extensions.Hosting;

using Microsoft.AspNetCore.Builder;

using Microsoft.AspNetCore.Hosting;

using Microsoft.AspNetCore.Http;
Rewrite the Main method to run our WebHost
We’re almost there, we just need to tie it all up in the Main method of the Program.cs:
static void Main(string[] args)

{

    CreateHostBuilder(args).Build().Run();

}
Let’s examine the full working example:
using System;

using Microsoft.Extensions.Hosting;

using Microsoft.AspNetCore.Builder;

using Microsoft.AspNetCore.Hosting;

using Microsoft.AspNetCore.Http;


namespace ConsoleToWeb

{

    class Program

    {

        static void Main(string[] args)

        {

            CreateHostBuilder(args).Build().Run();

        }


        public static IHostBuilder CreateHostBuilder(string[] args) =>

            Host.CreateDefaultBuilder(args)

                .ConfigureWebHost(

                    webHost => webHost

                        .UseKestrel(kestrelOptions => { kestrelOptions.ListenAnyIP(5005); })

                        .Configure(app => app

                            .Run(

                                async context =>

                                {

                                    await context.Response.WriteAsync("Hello World!");

                                }

                            )));

    }

}
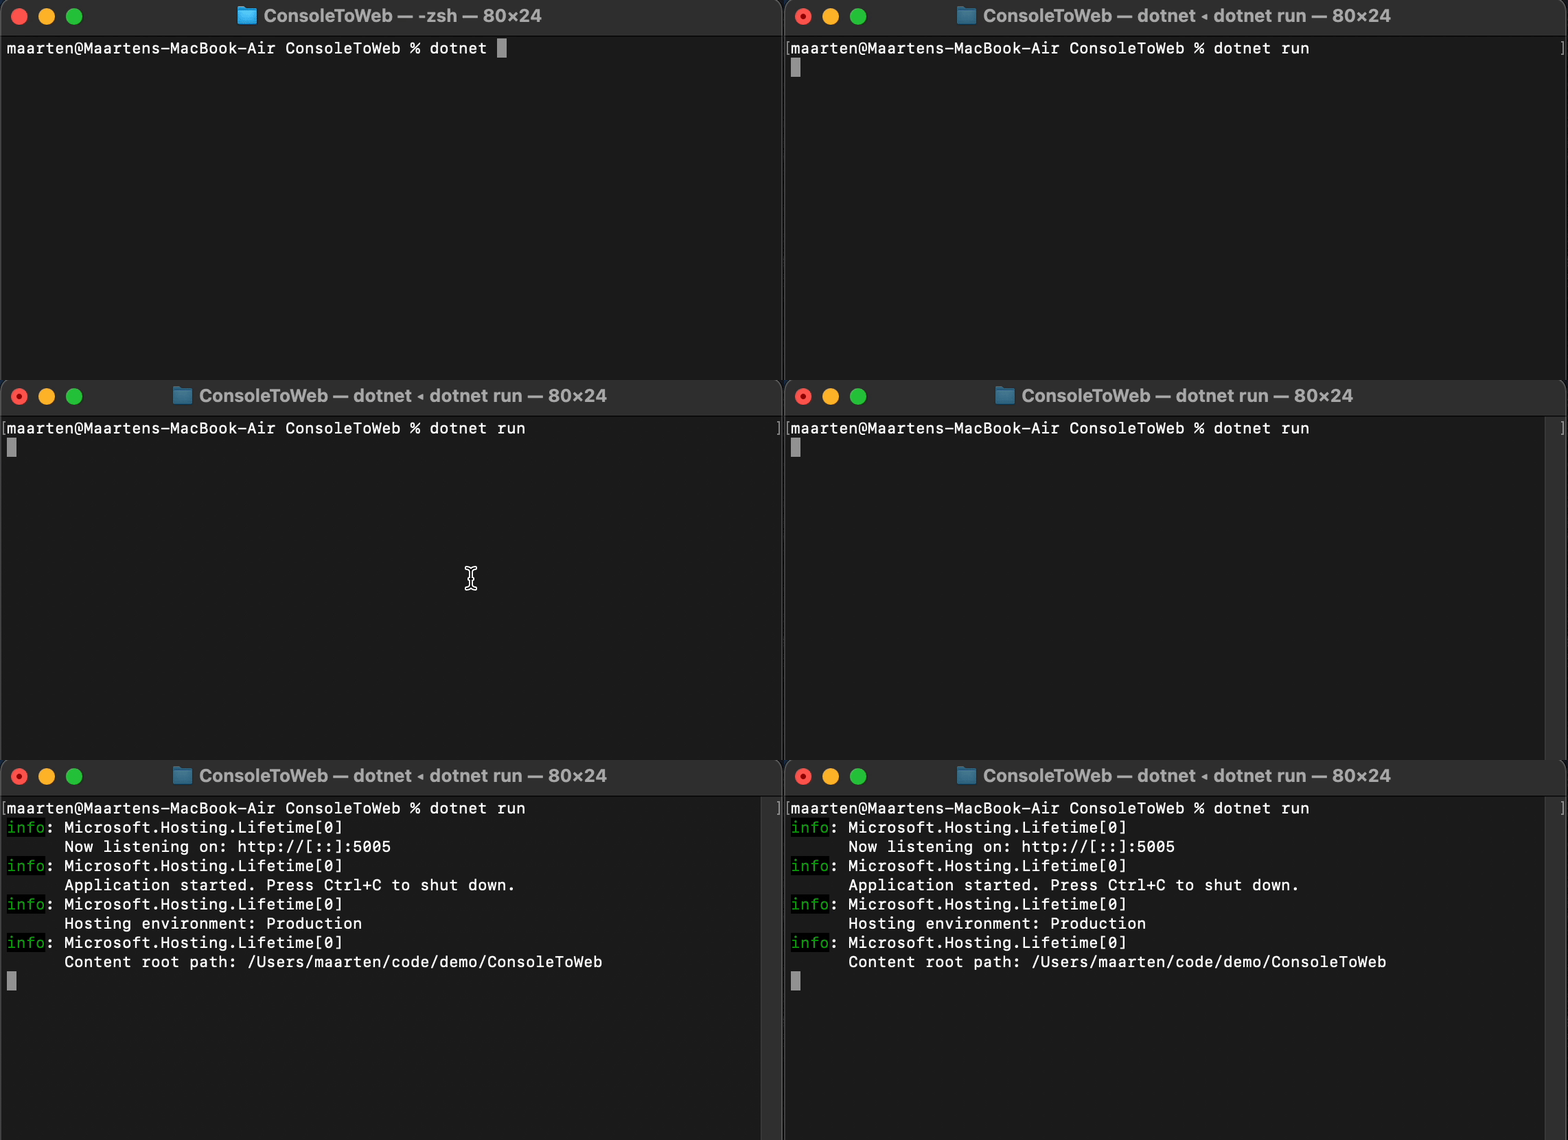
That is it! Now you can run the app using dotnet run and see the result in your browser at http://localhost:5005


Dockerize it!
Since we’re on a roll here, let’s quickly Dockerize this app so that we can package and ship it.
Add a Dockerfile to the root of the ConsoleToWeb directory.
touch Dockerfile
The contents of the Dockerfile should be something like:
FROM mcr.microsoft.com/dotnet/sdk:5.0 AS build-env

WORKDIR /app


COPY *.csproj ./

RUN dotnet restore


COPY . ./

RUN dotnet publish -c Release -o out


FROM mcr.microsoft.com/dotnet/aspnet:5.0

WORKDIR /app

COPY --from=build-env /app/out .

EXPOSE 5005

ENTRYPOINT ["dotnet", "ConsoleToWeb.dll"]
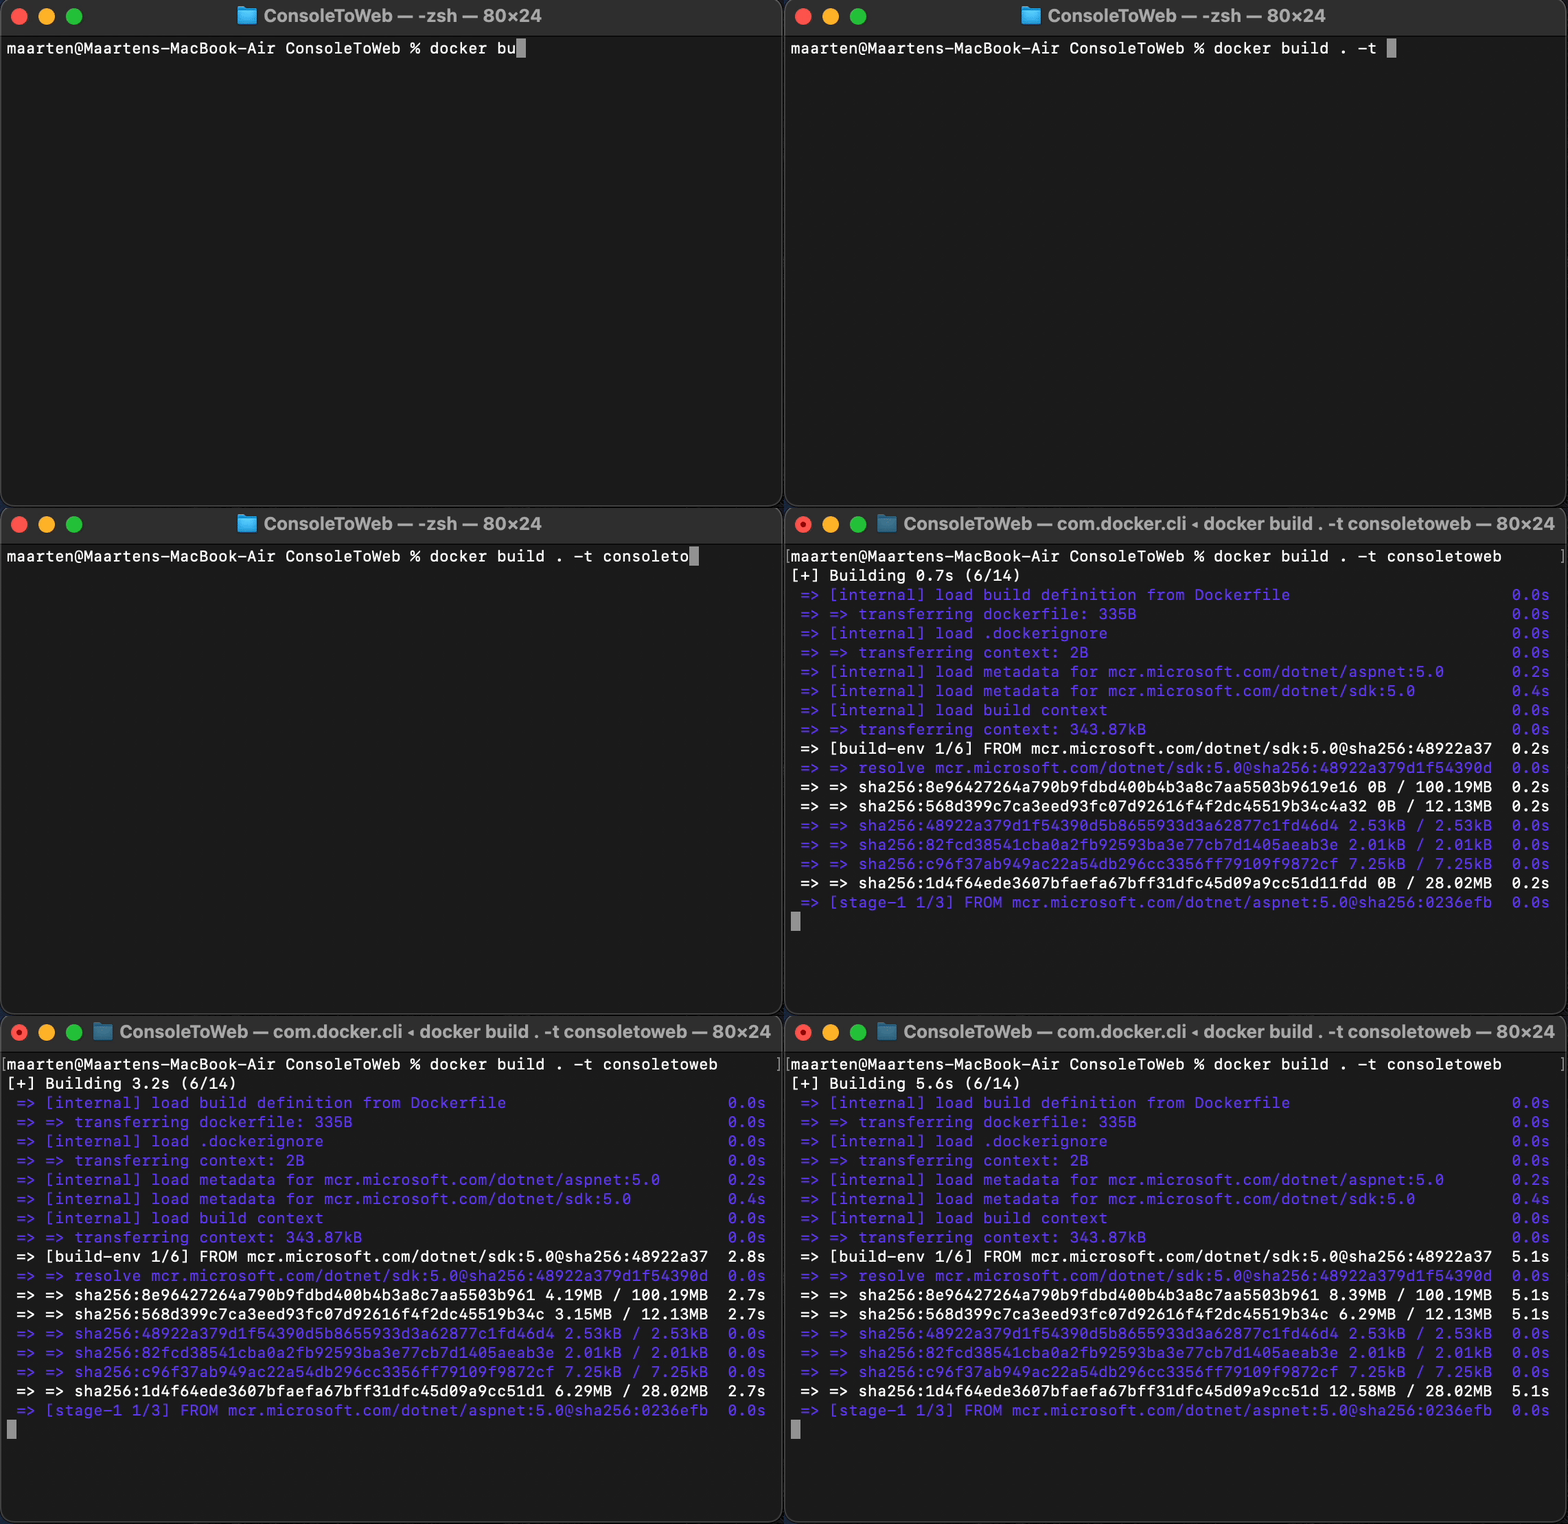
Now that is done, we can build our image locally and tag it:
docker build . -t consoletoweb

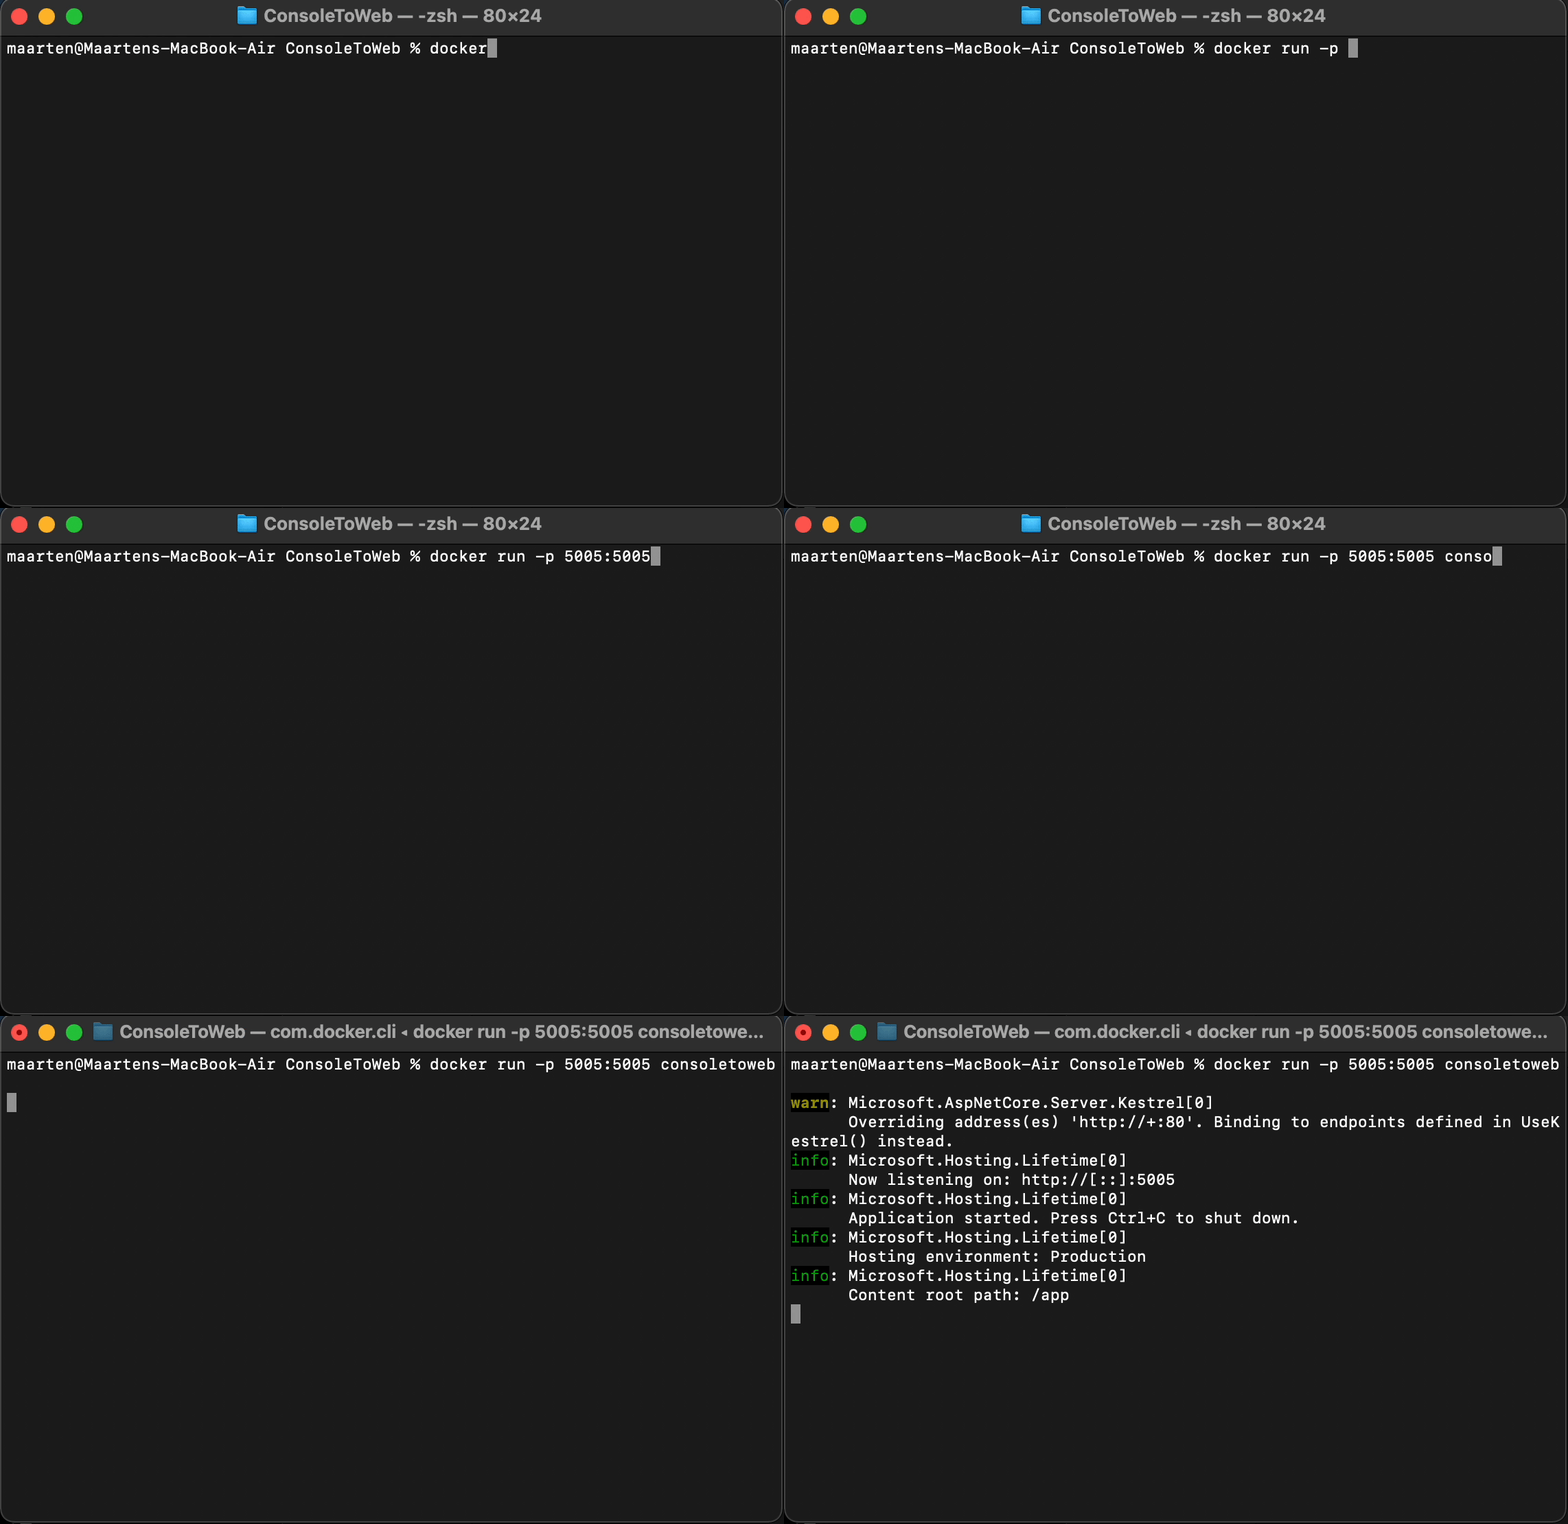
After the Docker image is built, we can run the image in a container using docker run -p 5005:5005 consoletoweb

And the effect should be the same on http://localhost:5005

Quickly adding services using FuncR
Still going strong now, let’s introduce a service, add some small implementation and have that service injected into our Web App using Dependency Injection!
Introduce the IFooService:
interface IFooService

{

    string Foo(int numberOfFoos);

}
Now, we could implement this service using a new class, or we could write just the code we need for string Foo(int numberOfFoos) method to work using a function with FuncR.

FuncR is a small .NET standard library that enables you to register functions against interfaces in C#.
First we need to add FuncR to the project
dotnet add package FuncR
To use FuncR, add a ConfigureServices method to your Program.cs file:
 1: private static void ConfigureServices(IServiceCollection services)

 2: {

 3:     services.AddScopedFunction<IFooService>

 4:         (nameof(IFooService.Foo))

 5:         .Runs<int, string>(numberOfFoos =>

 6:         {

 7:             var foos = Enumerable.Range(1, numberOfFoos).Select(n => "Foo");

 8:             return $"{String.Join(", ", foos)}";

 9:         });

10: }
In this ConfigureServices method, you can register any service agains the DI container of ASP.NET, more concretely, the code above registers a Proxy for IFooService and hooks up the string Foo(int numberOfFoos) method to the function that is provided on lines 7 and 8, cool huh!?
Now we just need to tell the HostBuilder to use this method to configure its services and we’re ready to have that service injected:
using System;

using Microsoft.Extensions.Hosting;

using Microsoft.AspNetCore.Builder;

using Microsoft.AspNetCore.Hosting;

using Microsoft.AspNetCore.Http;

using Microsoft.Extensions.DependencyInjection;

using FuncR;

using System.Linq;


namespace ConsoleToWeb

{

    interface IFooService

    {

        string Foo(int numberOfFoos);

    }


    class Program

    {

        static void Main(string[] args)

        {

            CreateHostBuilder(args).Build().Run();

        }


        private static void ConfigureServices(IServiceCollection services)

        {

            services.AddScopedFunction<IFooService>

                (nameof(IFooService.Foo))

                .Runs<int, string>(numberOfFoos =>

                {

                    var foos = Enumerable.Range(1, numberOfFoos).Select(n => "Foo");

                    return $"{String.Join(", ", foos)}";

                });

        }


        public static IHostBuilder CreateHostBuilder(string[] args) =>

            Host.CreateDefaultBuilder(args)

                .ConfigureWebHost(

                    webHost => webHost

                        .UseKestrel(kestrelOptions => { kestrelOptions.ListenAnyIP(5005); })

                        .ConfigureServices(ConfigureServices)

                        .Configure(app => app

                            .Run(

                                async context =>

                                {

                                    var numberOfFoos = 5;

                                    // Resolve IFooService here

                                    var fooService = context.RequestServices.GetRequiredService<IFooService>();

                                    await context.Response.WriteAsync(fooService.Foo(numberOfFoos));

                                }

                            )));

    }

}
If we now dotnet run and navigate to http://localhost:5005 we finally see some different output:

That’s a lot of Foo’s.
And naturally, the Docker example also still works after a rebuild and run:
docker build . --no-cache -t consoletoweb

docker run -p 5005:5005 consoletoweb
Wrapping up
In this article we saw how easy and quickly a console app can be converted into a ASP.NET web app, and we got an introduction to FuncR to speed up our service implementations. The full code, and more is available through GitHub:
Source: https://github.com/merken/ConsoleToWeb