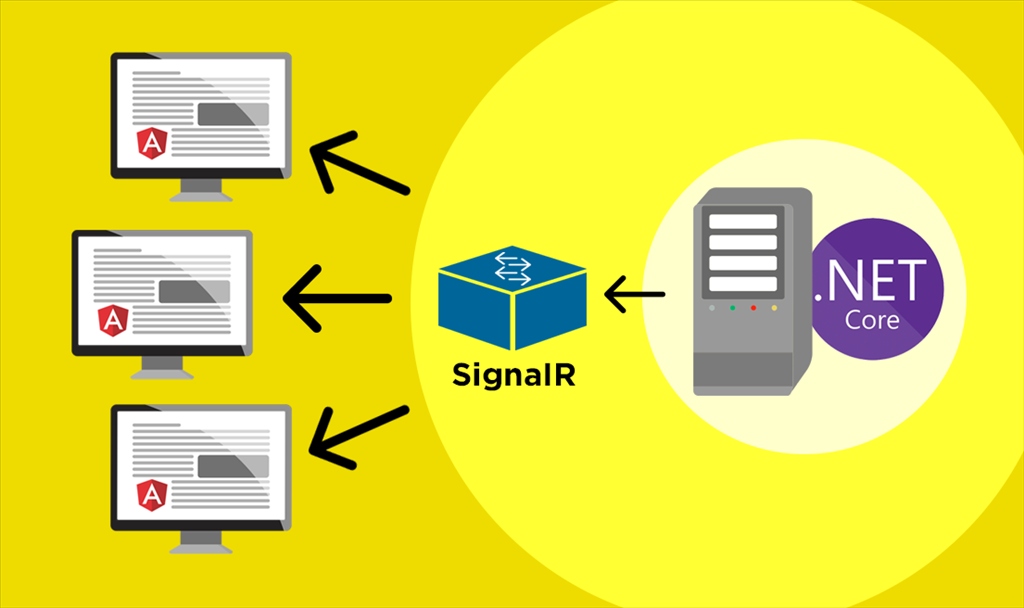
Introduction: In today’s world, real-time communication is essential for many web applications. For example, consider an online game where players need to communicate with each other in real-time, or a chat application where users expect instant messaging. Fortunately, SignalR, a real-time web framework, is available to help developers implement such functionalities in their web applications.
In this blog, we will explore how to use SignalR in .NET Core to implement real-time communication. We will create a simple chat application where users can send and receive messages in real-time. Let’s get started!
Step 1: Create a new .NET Core project
Open Visual Studio and create a new .NET Core project. Select “ASP.NET Core Web Application” and give your project a name. Choose the “API” template and click “Create”.
Step 2: Install the SignalR package
Next, we need to install the SignalR package in our project. Open the NuGet Package Manager and search for “Microsoft.AspNetCore.SignalR”. Install the latest version of the package.
Step 3: Add a SignalR hub
A SignalR hub is a class that manages real-time communication between clients and the server. We need to create a new hub for our chat application.
Create a new folder called “Hubs” in your project and add a new class called “ChatHub.cs”. This class will inherit from the “Hub” class provided by the SignalR package.
using Microsoft.AspNetCore.SignalR;

using System.Threading.Tasks;


namespace YourProjectName.Hubs

{

    public class ChatHub : Hub

    {

        public async Task SendMessage(string user, string message)

        {

            await Clients.All.SendAsync("ReceiveMessage", user, message);

        }

    }

}
This code defines a method called “SendMessage” that takes two parameters: the name of the user who sent the message and the message itself. It then calls the “SendAsync” method to send the message to all connected clients, passing in the name of the method (“ReceiveMessage”) and the parameters to be sent.
Step 4: Configure SignalR in the Startup class
In the Startup class, we need to add SignalR to the application’s services and middleware.
using Microsoft.AspNetCore.Builder;

using Microsoft.AspNetCore.Hosting;

using Microsoft.Extensions.Configuration;

using Microsoft.Extensions.DependencyInjection;

using Microsoft.Extensions.Hosting;


namespace YourProjectName

{

    public class Startup

    {

        public Startup(IConfiguration configuration)

        {

            Configuration = configuration;

        }


        public IConfiguration Configuration { get; }


        public void ConfigureServices(IServiceCollection services)

        {

            services.AddSignalR();

            services.AddControllers();

        }


        public void Configure(IApplicationBuilder app, IWebHostEnvironment env)

        {

            if (env.IsDevelopment())

            {

                app.UseDeveloperExceptionPage();

            }


            app.UseRouting();


            app.UseEndpoints(endpoints =>

            {

                endpoints.MapControllers();

                endpoints.MapHub<ChatHub>("/chatHub");

            });

        }

    }

}
This code adds SignalR to the application’s services by calling “AddSignalR()” in the “ConfigureServices” method. It then configures the middleware by calling “MapHub()” in the “Configure” method, passing in the URL (“/chatHub”) and the name of the hub class (“ChatHub”).
Step 5: Create the chat UI
Now that we have our SignalR hub set up, we need to create a UI to allow users to send and receive messages.
Create a new folder called “wwwroot” in your project and add a new file called “index.html”. This file will contain the HTML and JavaScript for our chat UI.
<!DOCTYPE html>

<html>

<head>

    <meta charset="utf-8" />

    <title>SignalR Chat</title>

</head>

<body>

    <div>

        <input type="text" id="txtUser" placeholder="Your name" />

        <input type="text" id="txtMessage" placeholder="Type a message" />

        <button id="btnSend">Send</button>

    </div>

    <ul id="messages"></ul>

    <script src="https://code.jquery.com/jquery-3.5.1.min.js"></script>

    <script src="/chatHub"></script>

    <script>

        var connection = new signalR.HubConnectionBuilder().withUrl("/chatHub").build();

         connection.on("ReceiveMessage", function (user, message) {

        var encodedUser = $('<div />').text(user).html();

        var encodedMessage = $('<div />').text(message).html();

        $('#messages').append('<li><strong>' + encodedUser + '</strong>: ' + encodedMessage + '</li>');

    });


    connection.start().then(function () {

        $('#btnSend').click(function () {

            var user = $('#txtUser').val();

            var message = $('#txtMessage').val();

            connection.invoke("SendMessage", user, message);

            $('#txtMessage').val('').focus();

        });

    });

</script>

</body>

</html>
This code defines a simple HTML form with three elements: an input field for the user’s name, an input field for the message, and a button to send the message. It also includes a JavaScript file that sets up a connection to the SignalR hub and handles the sending and receiving of messages.
Step 6: Test the chat application
Run the project and open the chat UI in your web browser. Enter a name and a message and click the “Send” button. You should see the message appear in the chat window in real-time.
Conclusion: In this blog, we learned how to use SignalR in .NET Core to implement real-time communication in a simple chat application. SignalR is a powerful framework that can be used for many types of real-time applications, such as games, chat applications, and live data visualization. I hope this tutorial has been helpful in getting you started with SignalR.